The first Japanese art that many people encounter is the art of paper folding: origami! In this blog post, Martine shows you step by step how to fold an easy origami cat head.
You can make this cute origami “cat’s head” easily and quickly, for example from an old piece of gift paper. Also fun for children. And if you mail or share a photo of yours in our Facebook group, we can add it to this site for you!
There are all sorts of variations you can think of on this simple origami model. The snout can be folded forwards or backwards and the cheeks can also be folded. To make it clearer that it is a cat, you can also draw or glue its face. But let’s start with the folding instructions.
Easy Origami Cat Head – step by step
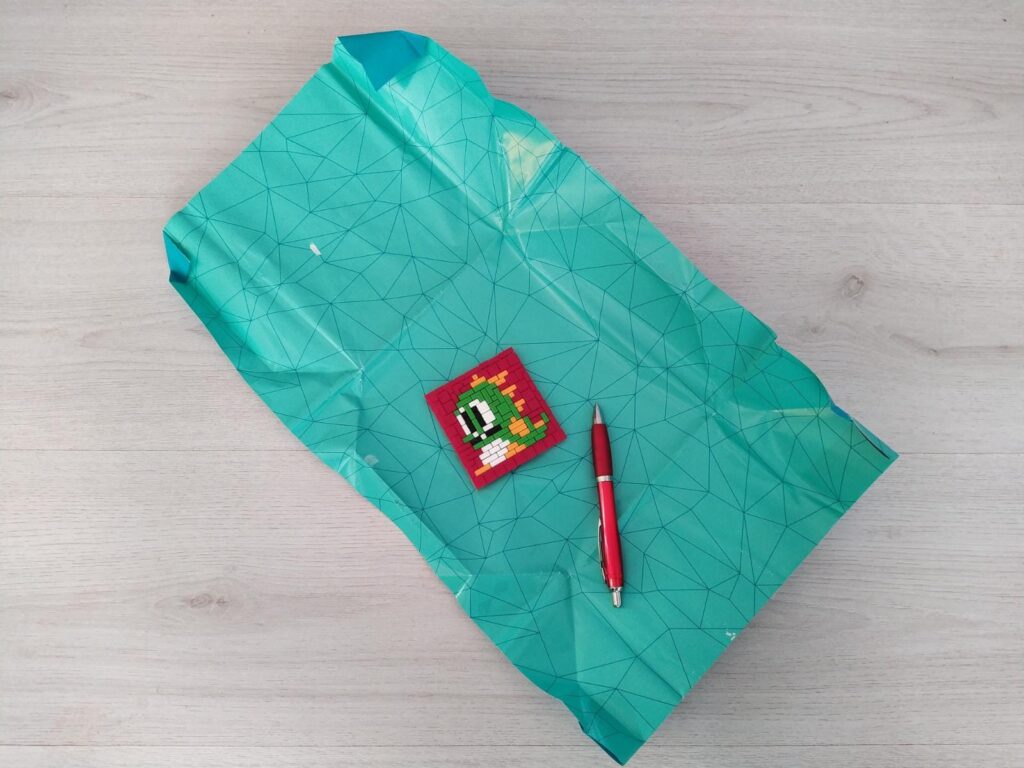
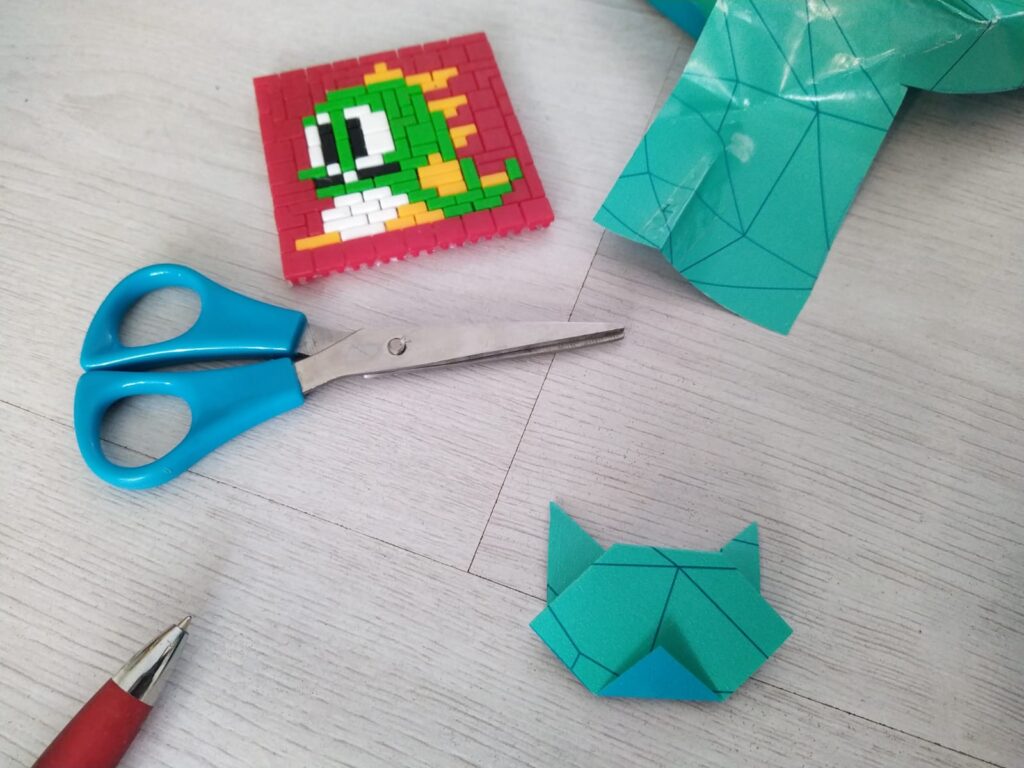
You start with a piece of paper (preferably not too thick), something square (e.g. a coaster) and a pen. Draw squares on the nice pieces of paper.
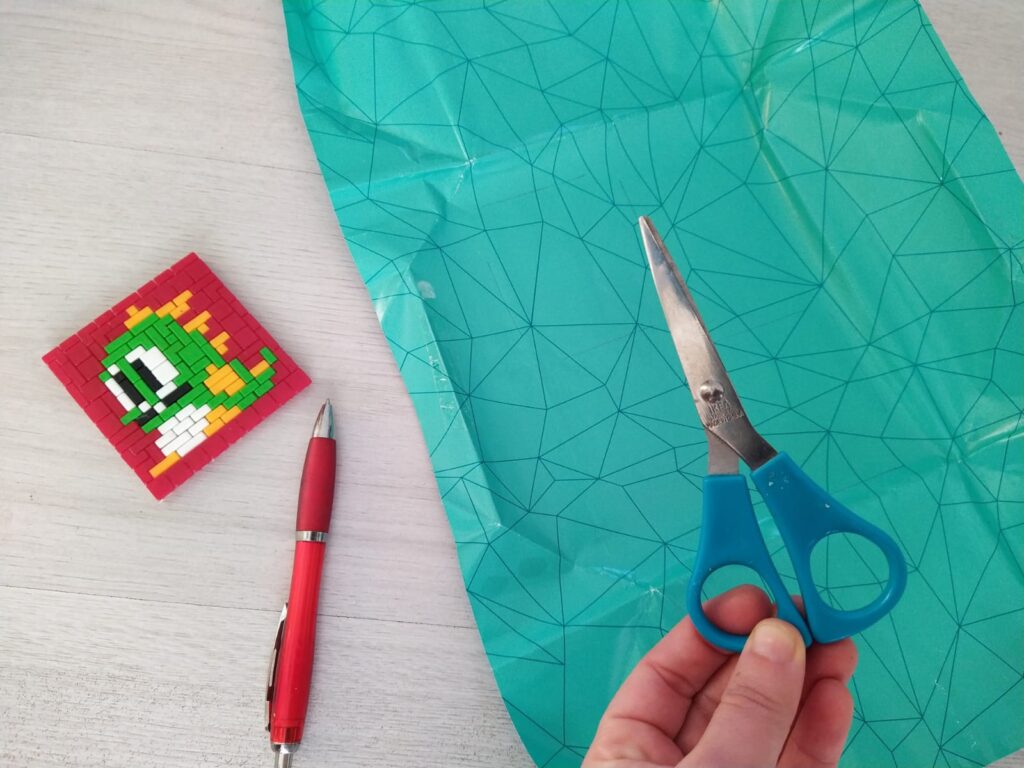
Cut out the squares with scissors. If you want to do it very neatly, you can also mark it out with a ruler/geodriangle and cut it with a Stanley knife or paper cutter.
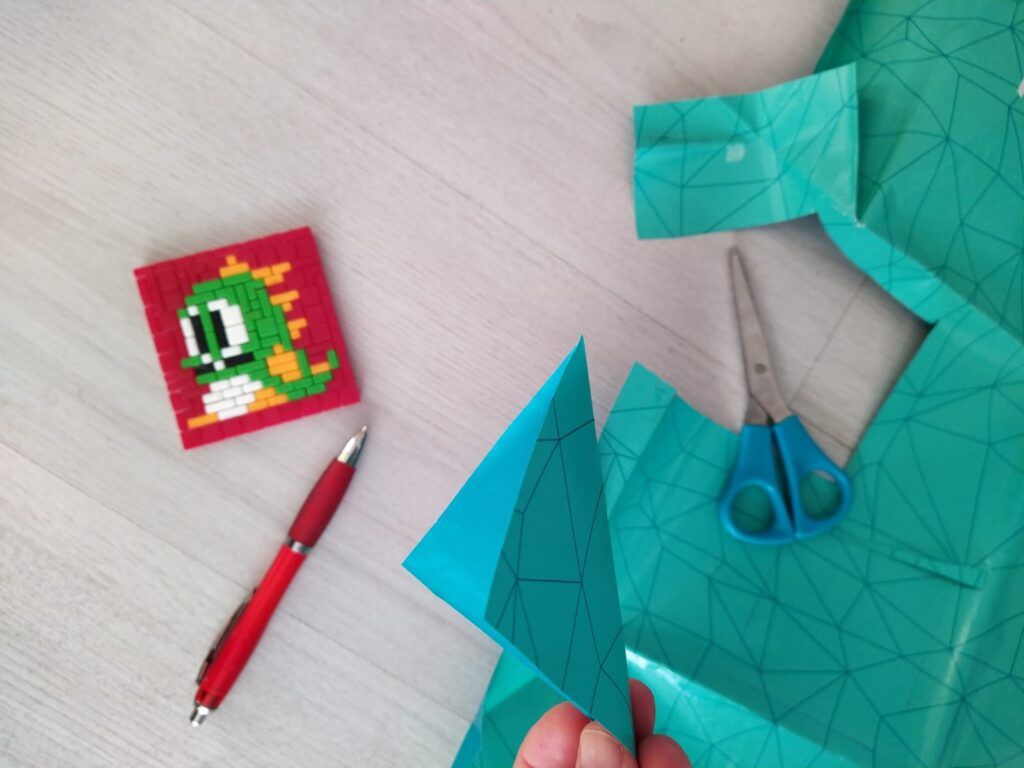
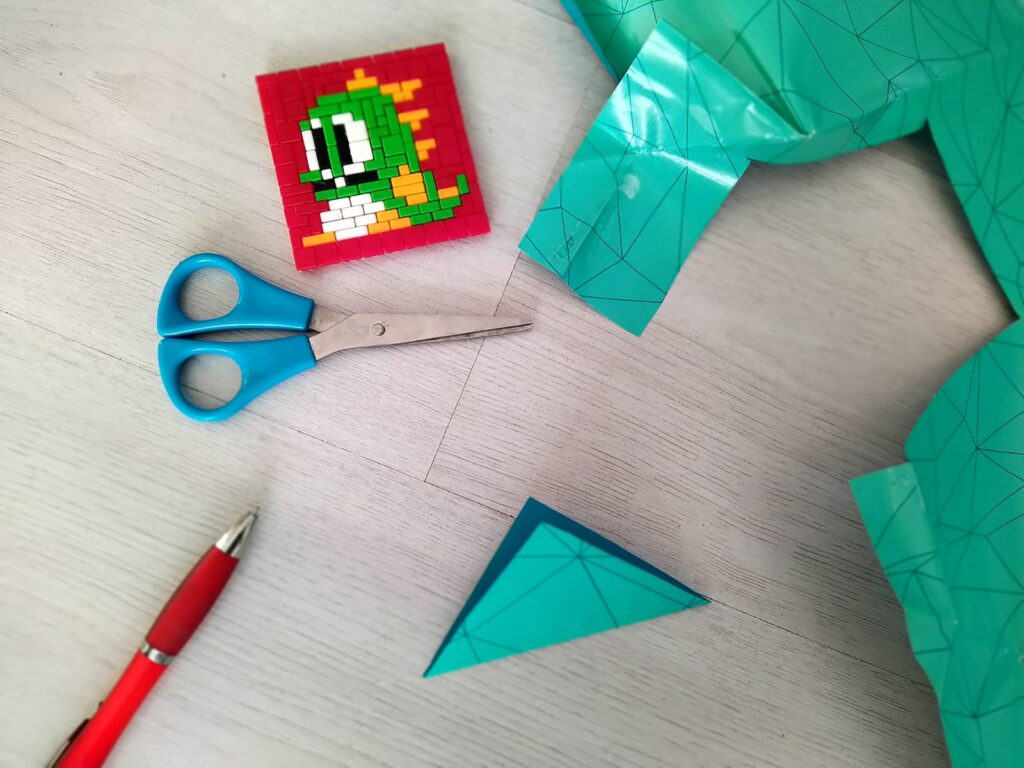
Fold your piece of paper twice over the diagonal to check that it is really square. If necessary, you can now trim the edges.
Fold the bottom half up over the diagonal and smooth out the fold.
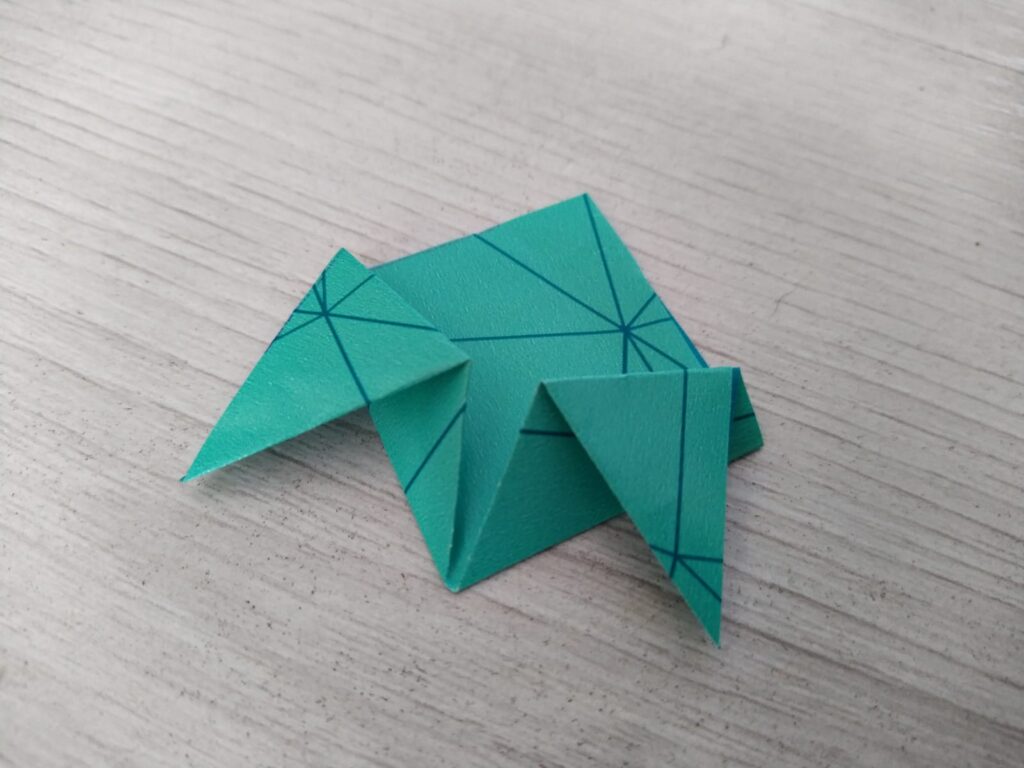
Then fold the two sides exactly to the middle (against the diagonal fold).
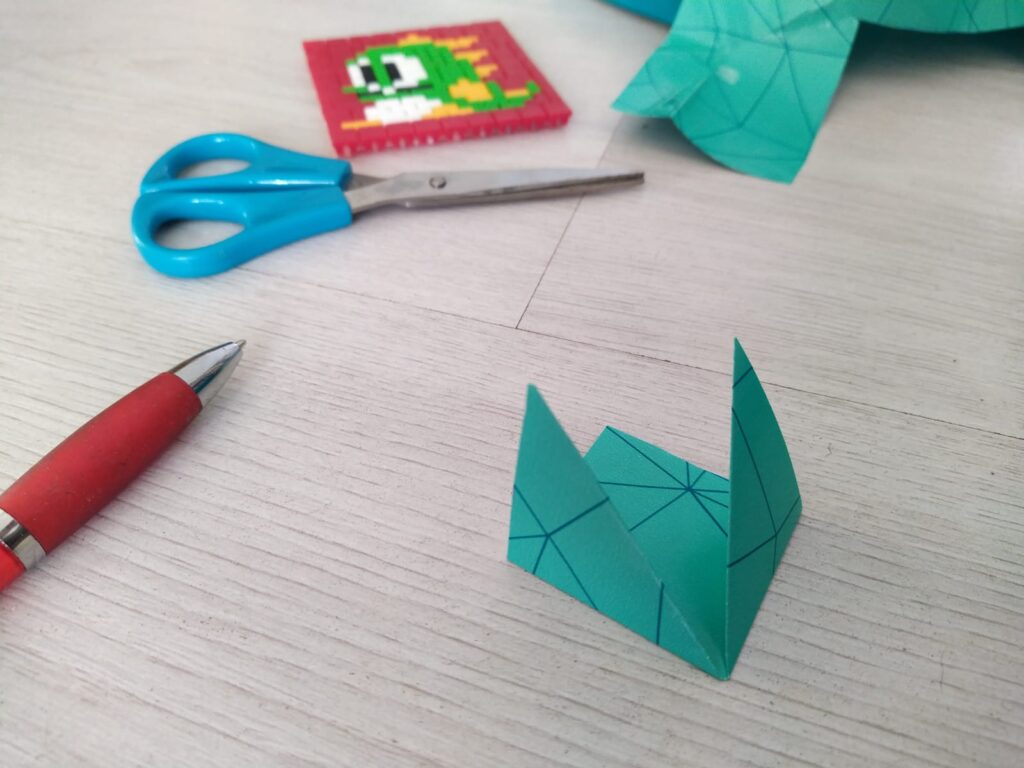
Fold the ears back into an angle that you like (you can see this by turning it over already).
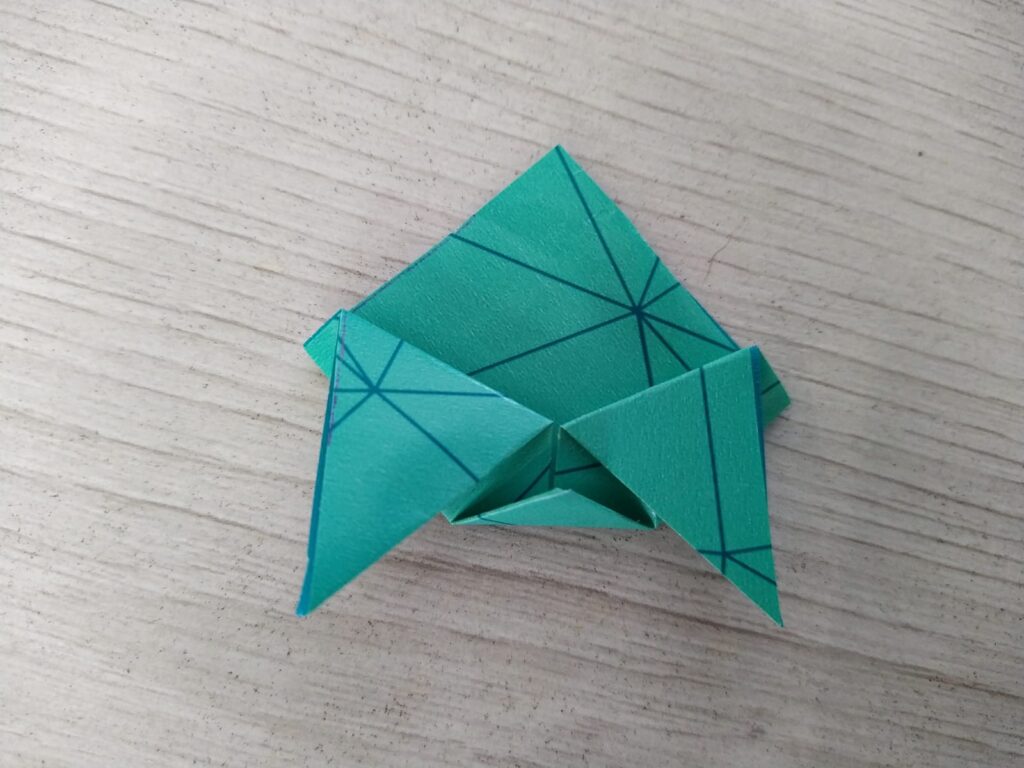
Fold the bottom corner upwards.
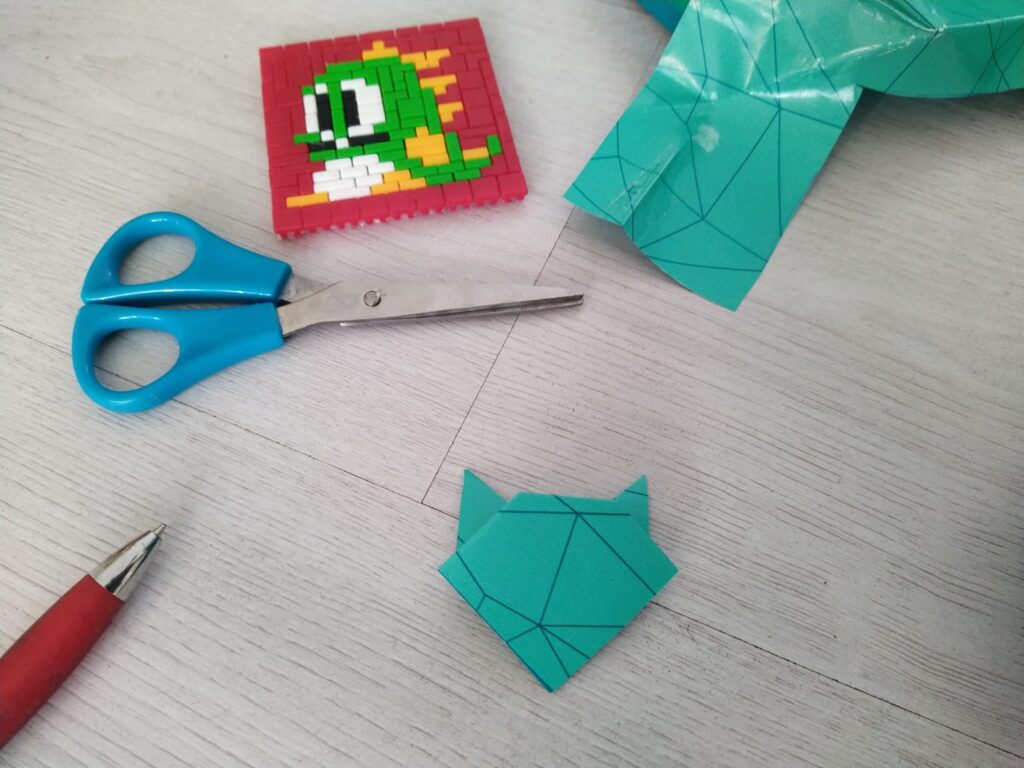
Turn your piece over and when you are satisfied, smooth out all the folds! This is the basis of the origami cat(s).
Now you can fold in the muzzle and possibly the cheeks. And then your cat is finished!